close-up of lady fixing bike brakes

How to Adjust Bike Brakes

Are your brakes squeaking or not feeling as powerful as they used to? This can usually be solved by adjusting your brakes a little. Find out how.

Effective brakes are essential for safe cycling, and checking and fine-tuning them regularly will help them perform better and ensure you’re riding safely.

close-up of lady adjusting bike brakes

Maintain, Align And Adjust Your Bike Brakes

Over time, bike brakes become less effective. Loose brake cables will make it harder to brake, and worn brake pads can be dangerous. But fortunately, you can fix these issues yourself with some simple tools - and it only takes a few minutes.

Knowing how to adjust bike brakes is a key skill for cyclists, and while it may seem complicated at first, it can actually be pretty simple if you know what you’re doing. So, we’ll take you through the basics of how to maintain, align and adjust your bike brakes so you can stay safe on your rides.

Why do I Need to Adjust My Bike Brakes?

Adjusting your bike brakes is necessary because over time, bike cables stretch and pads wear away over time, making them less effective and potentially dangerous. So it’s important to routinely adjust your bike brakes to ensure they perform correctly. But there are many reasons why you’ll want to adjust your bike brakes; these include:

- To maintain them
- To stop them from squeaking
- To stop them from pulling/rubbing
- To tighten/loosen them
- To replace brake pads/rotors
- To clean the brakes

The two main things you’ll want to adjust in your bike’s brake system are the cables and the pads. And it’s important to know how to do this to keep your brakes in tip-top condition.
Lubricating your bike is also the fastest, cheapest way to maintain it, and it only takes around 15 minutes! Find out how to lubricate your bike.

close-up of lady adjusting brake cable

How Can I Tell If My Brakes Need Adjusting?

Signs Your Brakes Need Adjusting:
The biggest sign that your brakes need adjusting is if you can squeeze the brake lever fully without the brake engaging. In this case, urgent action is required.

To test your brakes, stand next to your bike and squeeze the front brake lever while trying to push the bike forward. The rear wheel should lift, and the lever shouldn't touch the handlebar. Then, repeat this test with the rear brake. The rear wheel should lock and skid as you push the bike forward. If either brake isn't working properly, it's likely to be a result of a loose cable (unless your bike has hydraulic brakes, in which case they will probably need 'bleeding' to remove any air bubbles).

It’s also important to visually check your brakes so you can spot any issues before you set off on your ride.

  • Decathlon V brakes

    V-Brakes

    If your bike has V-brakes, make sure the ‘noodle’, which is the J-shaped metal guide tube, is in place. Otherwise, the brake will not work.

  • close u of side pull brakes

    Side-Pull Breaks

    Side-pull brakes often have a small quick-release lever on the calliper, enabling it to open wider. You need to ensure this lever is closed, otherwise, the brake pads will be too far from the rim.

  • Decathlon bike brake pads

    Break Pads

    There should also be a good thickness of braking surface on your brake pads. If there is no pad left or if your brakes are making grinding noises then it’s time for new pads.

Close-up of lady testing bike brakes

How To Adjust Bike Brakes

If you squeeze the brave lever and find that the brake pads are not coming into contact with the rim of the front tyre simultaneously, then they will need adjusting. They should be hitting the centre of the rim, with the same amount of distance above and below the pad. If the pads are too low or too high, they could come into contact with the wrong part of the tyre or the spokes, and prevent you from braking effectively.

Knowing how to brake correctly also doesn’t come naturally to everyone, but it’s a technique you need to know if you want to be able to ride safely and control your bike in any situation. What’s more, knowing how to brake often means you can go faster downhill than a less skilled cyclist. Learn more about Braking Properly on a Road Bike.

How to loosen bike brakes

If your brake pads are hitting off-centre, use an Allen key to loosen the bolts that are holding the brake pads in place. Turn counterclockwise to loosen the bolts, but do not loosen them all the way or the brake pads will come out of the holder.

Move the brake pads up or down in the brake pad holder. They should easily move up and down once the bolts are loosened. If the pads were too low on the rim, move them up until they’re centred, if the pads were too high on the rim, move them down. Then re-tighten the brake pad bolts using the Allen key. Check again to make sure the brake pads are centred, and re-adjust if required.

How to tighten bike brakes

Brake cables that are too loose will make it harder to brake, so they may need adjusting from time to time. You can test the tightness of your cables by pulling each brake lever. When you pull the levers, they should be about 1.5 inches away from the grip on the handlebars. If the levers hit the handlebars when you pull them, the brake cables are too loose.

To make minor adjustments to your brake cable, you need to loosen the barrel adjusters, located where the brake cables meet the brake levers. If your brake cables are just slightly loose, loosening the barrel adjusters might solve the problem as that will slightly tighten the brake cable. Pull on the brake lever to see if it’s fixed the problem, but if it’s still too loose, you’ll need to adjust it on the calliper.

close-up of lady adjusting bike brake cables

How to adjust brake cables

The calliper is the main frame of the brakes that the brake pads are attached to. Find the bolt that’s holding the brake cable and use an Allen key to turn it anti-clockwise a few times until the bolt is slightly loose (don’t unscrew the bolt all the way).

Now the bolt has been loosened, you can pull the brake cable outwards to tighten it. Hold it in place with your fingers once you’ve pulled it tight, and as you pull the cable, the brake pads should tighten on the rim of the front tyre. You want them to be tight enough that there’s some resistance when you turn the tyre, but not so tight that it stops the tyre from turning at all.

When you’re happy with the cable, you’ll need to tighten the bolt which holds the brake cable on the calliper. This should ensure the cable stays securely in place.
Finally, turn the barrel adjusters you loosened previously clockwise until they’re fully tightened. This will loosen the brake pads that are clamped onto the front tyre. Then you’re all set! Even if this doesn’t solve the problem completely, tightening/loosening the barrel adjusters might improve the situation long enough for you to get home safely and fix it properly.
Test the brake cables again by pulling the brake levers. When you pull the levers now, there should be 1.5 inches between the lever and the grip on the handlebars.

close-up of lady adjusting fixing a bike

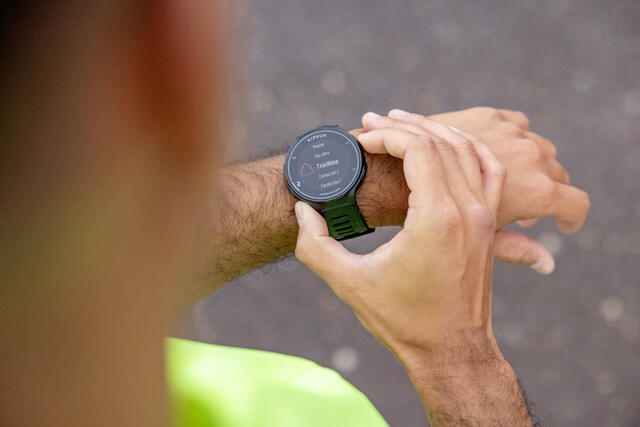
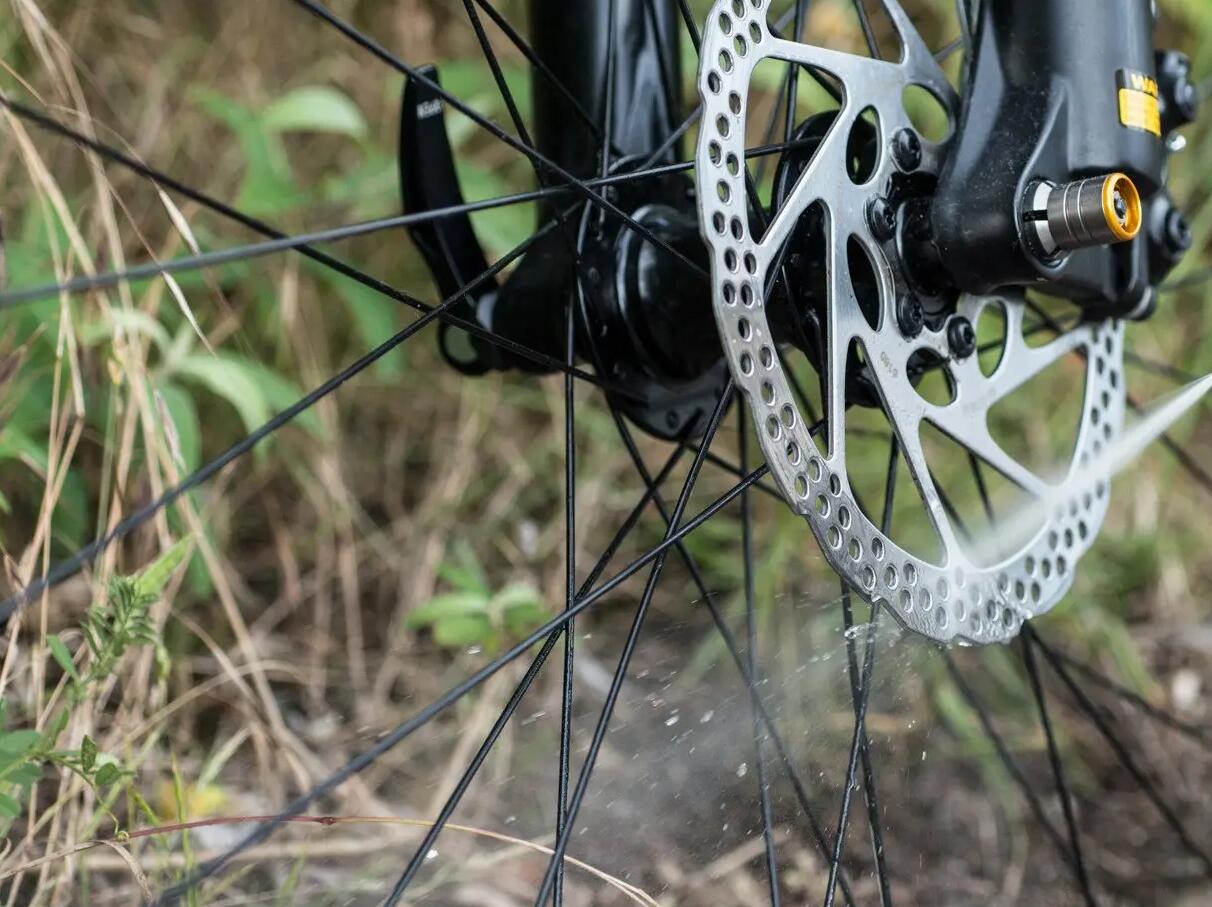
What Should I Check for if My Bike Has V-brakes?

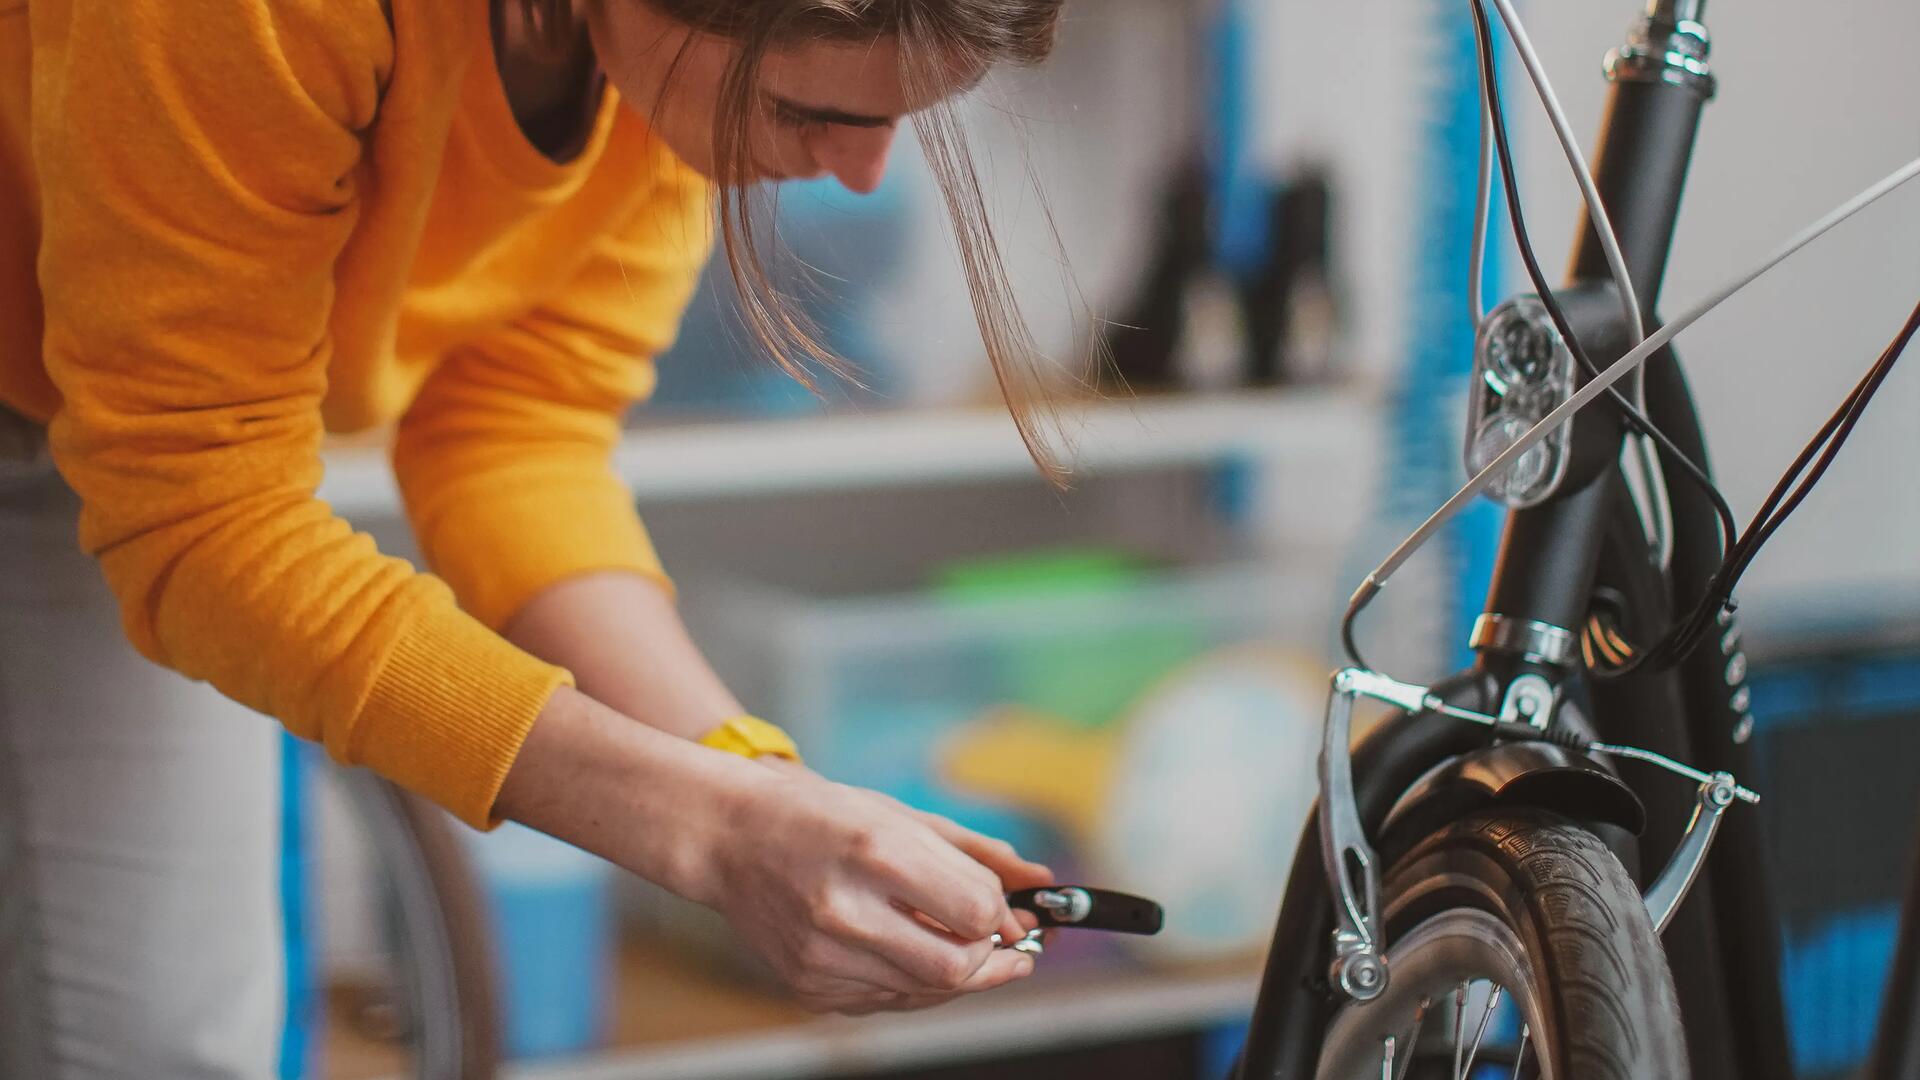
How to adjust V brakes

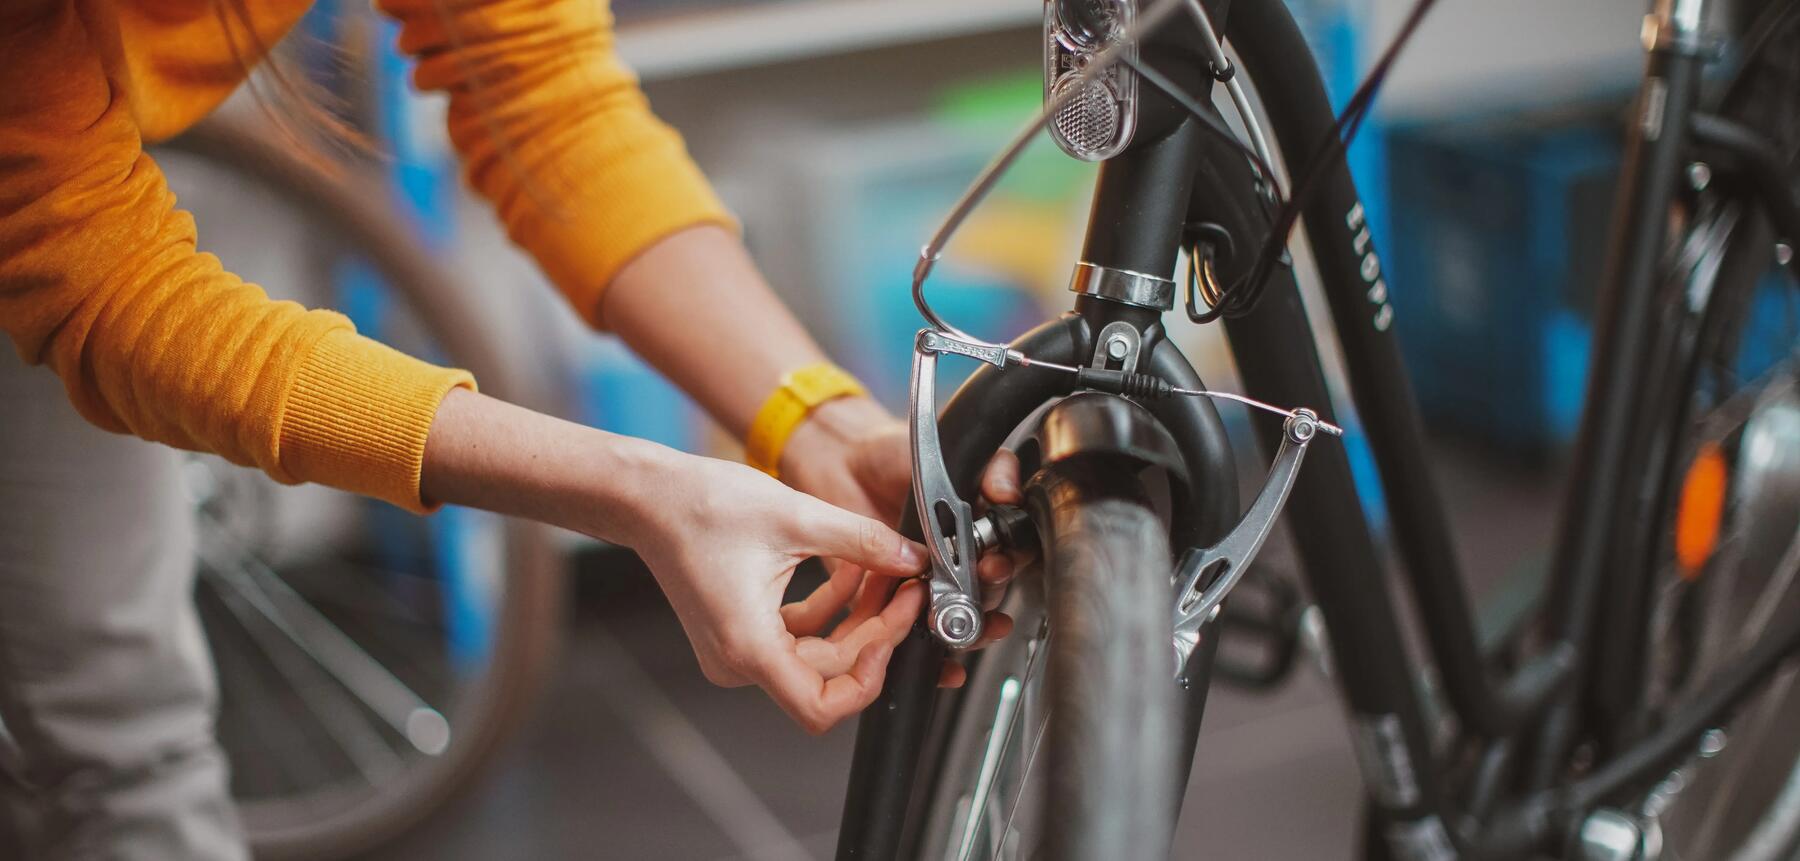
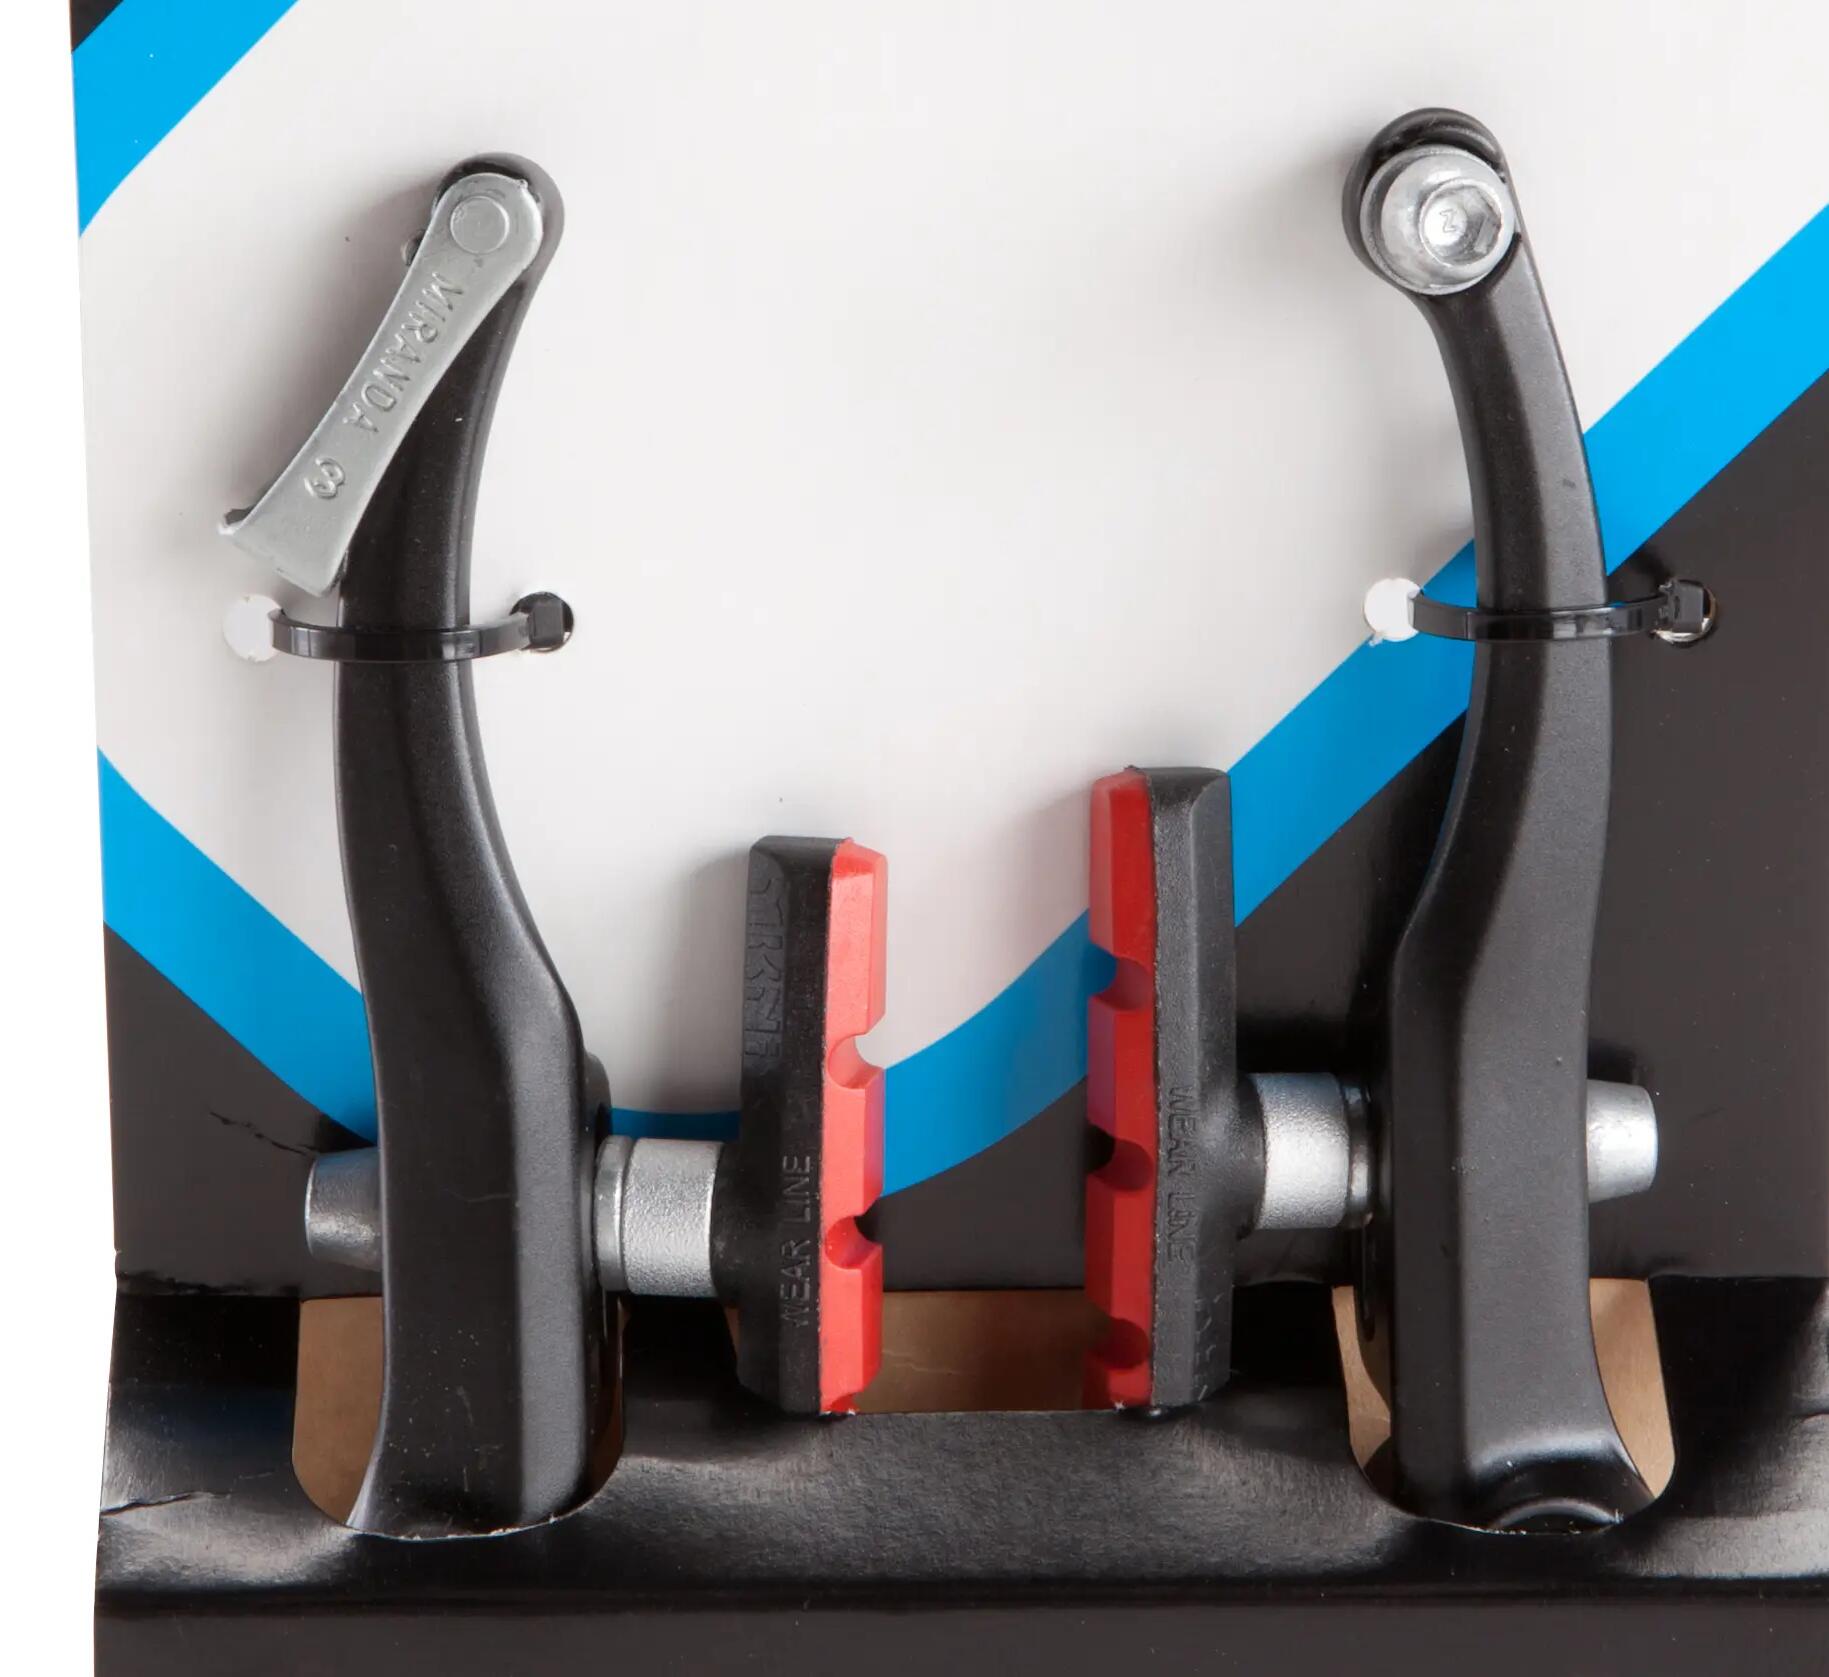
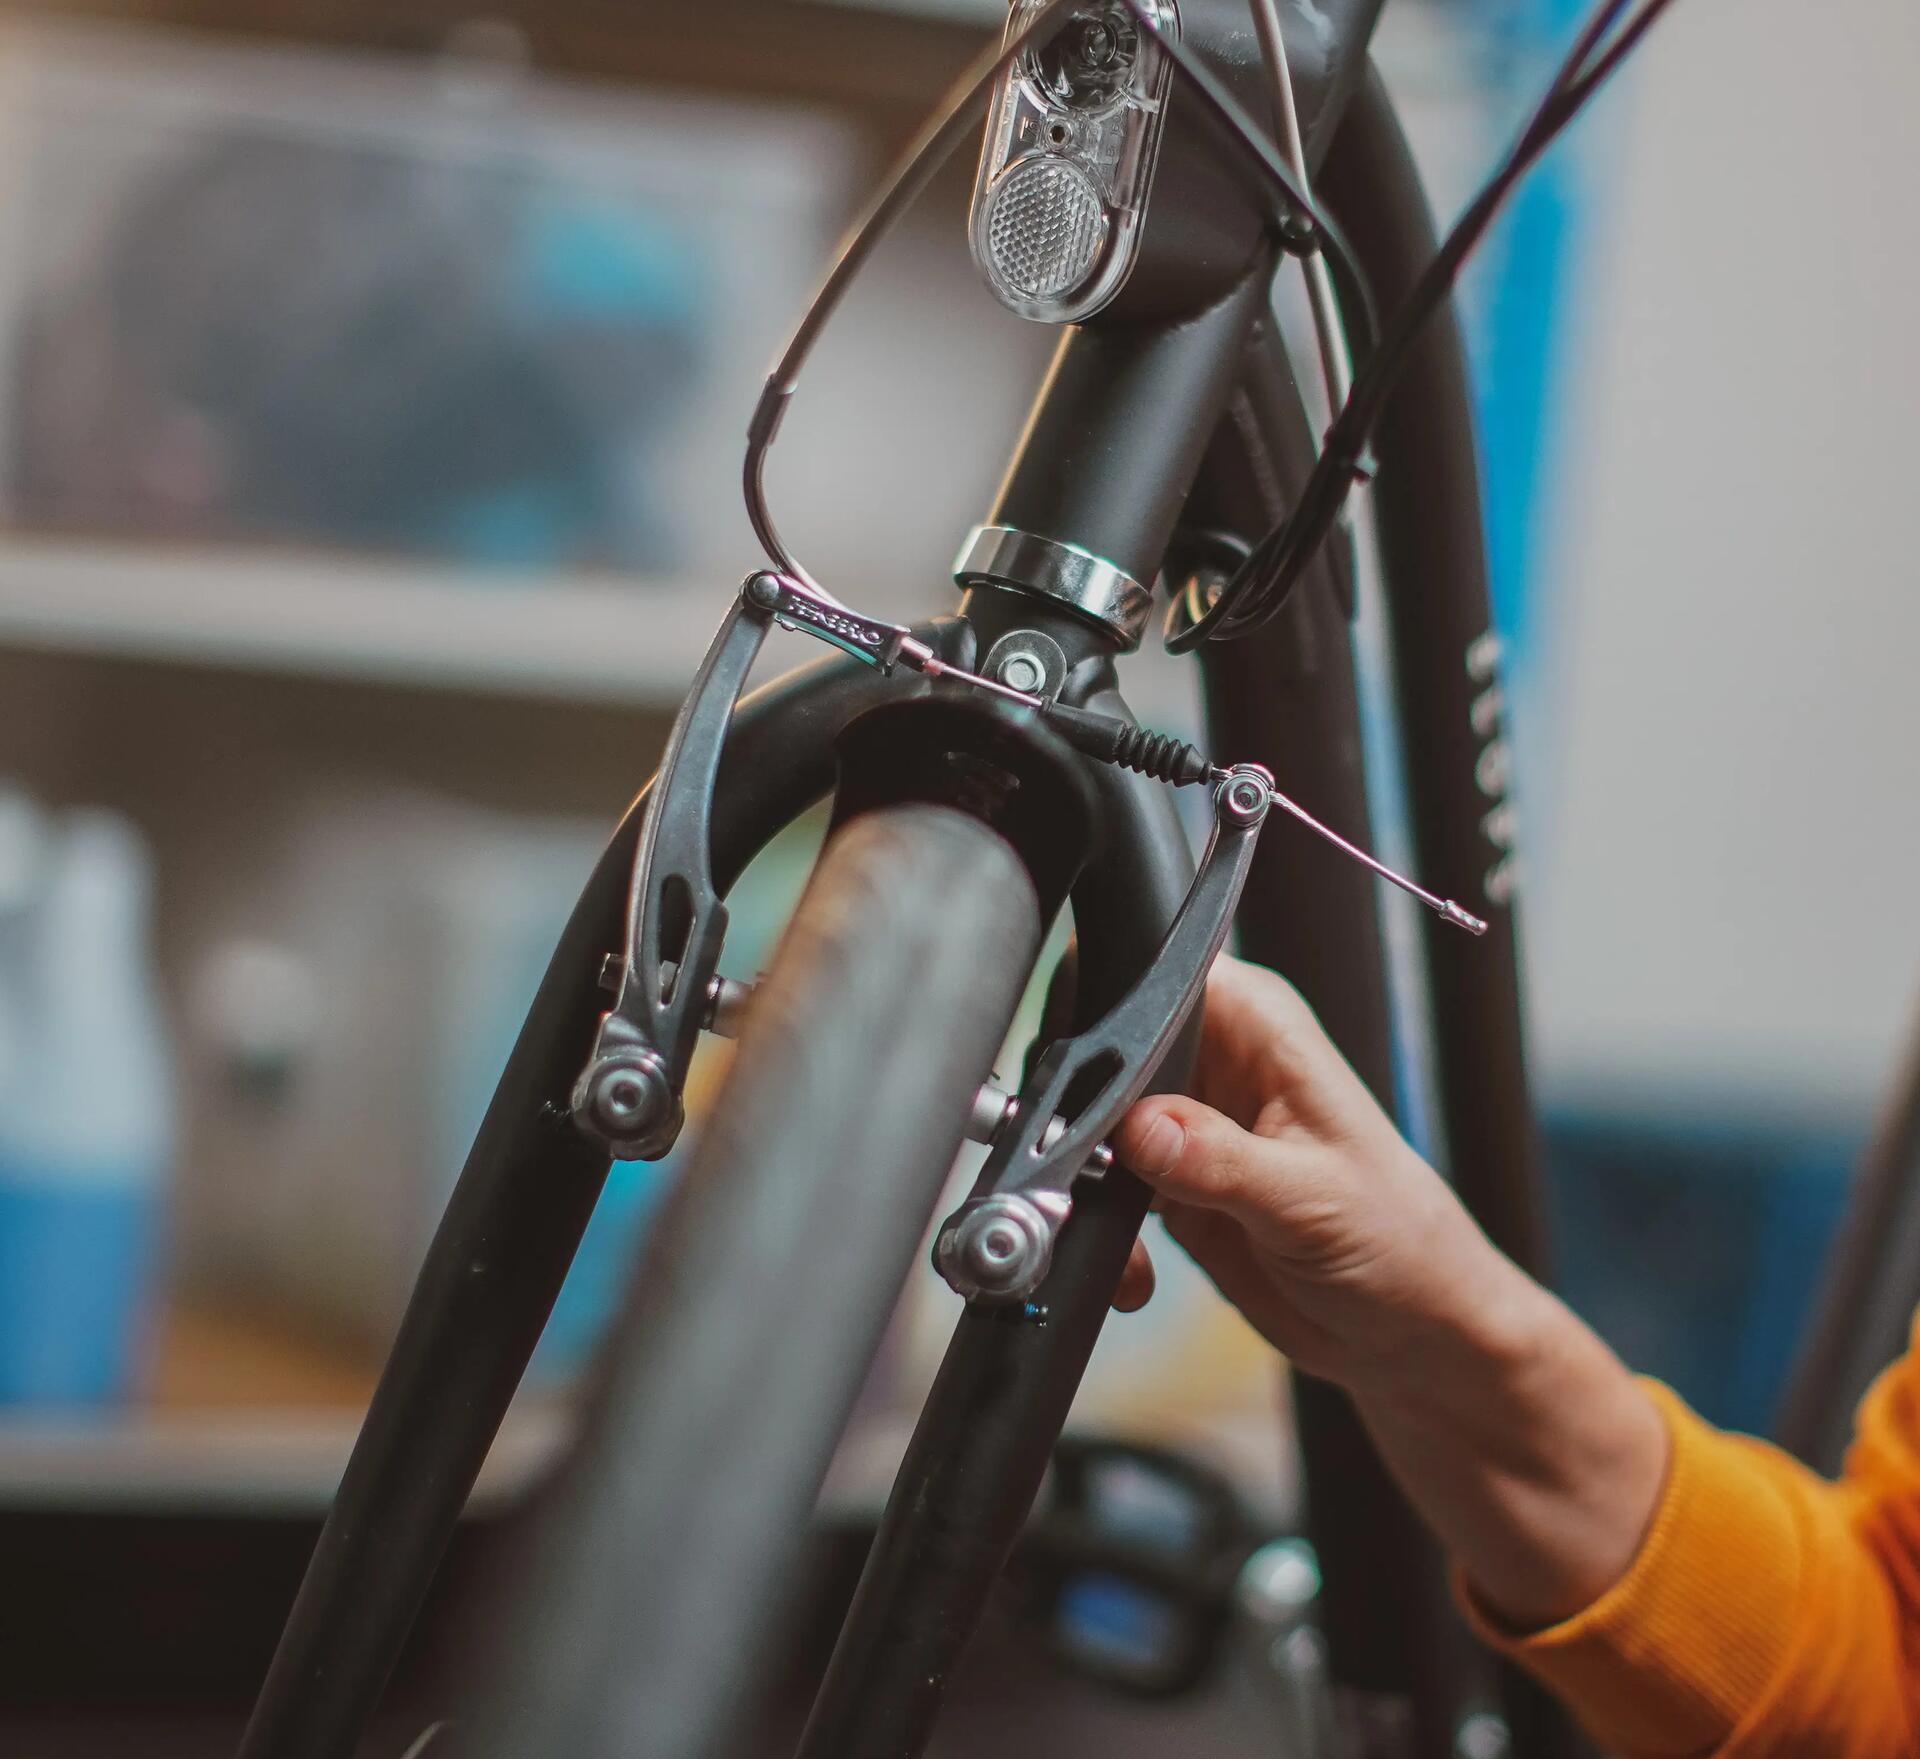
V-brakes are actually very easy to fix. If you feel your brakes pulling while you ride, they make an annoying screech when you apply them, or they’re not even on both sides, why not have a go at fixing them yourself? It only requires a little adjustment to get them working properly again. First, make sure the "noodle, " the J-shaped metal guide tube, is in place. Without it, the brake will not work.
 
Check your brake pads: Brake pad wear is one of the most common reasons for misalignment and poor performance. It’s also worth going for black or natural coloured brake pads, as any colours in the rubber compound can cause a horrible noise whenever you pull your brake.

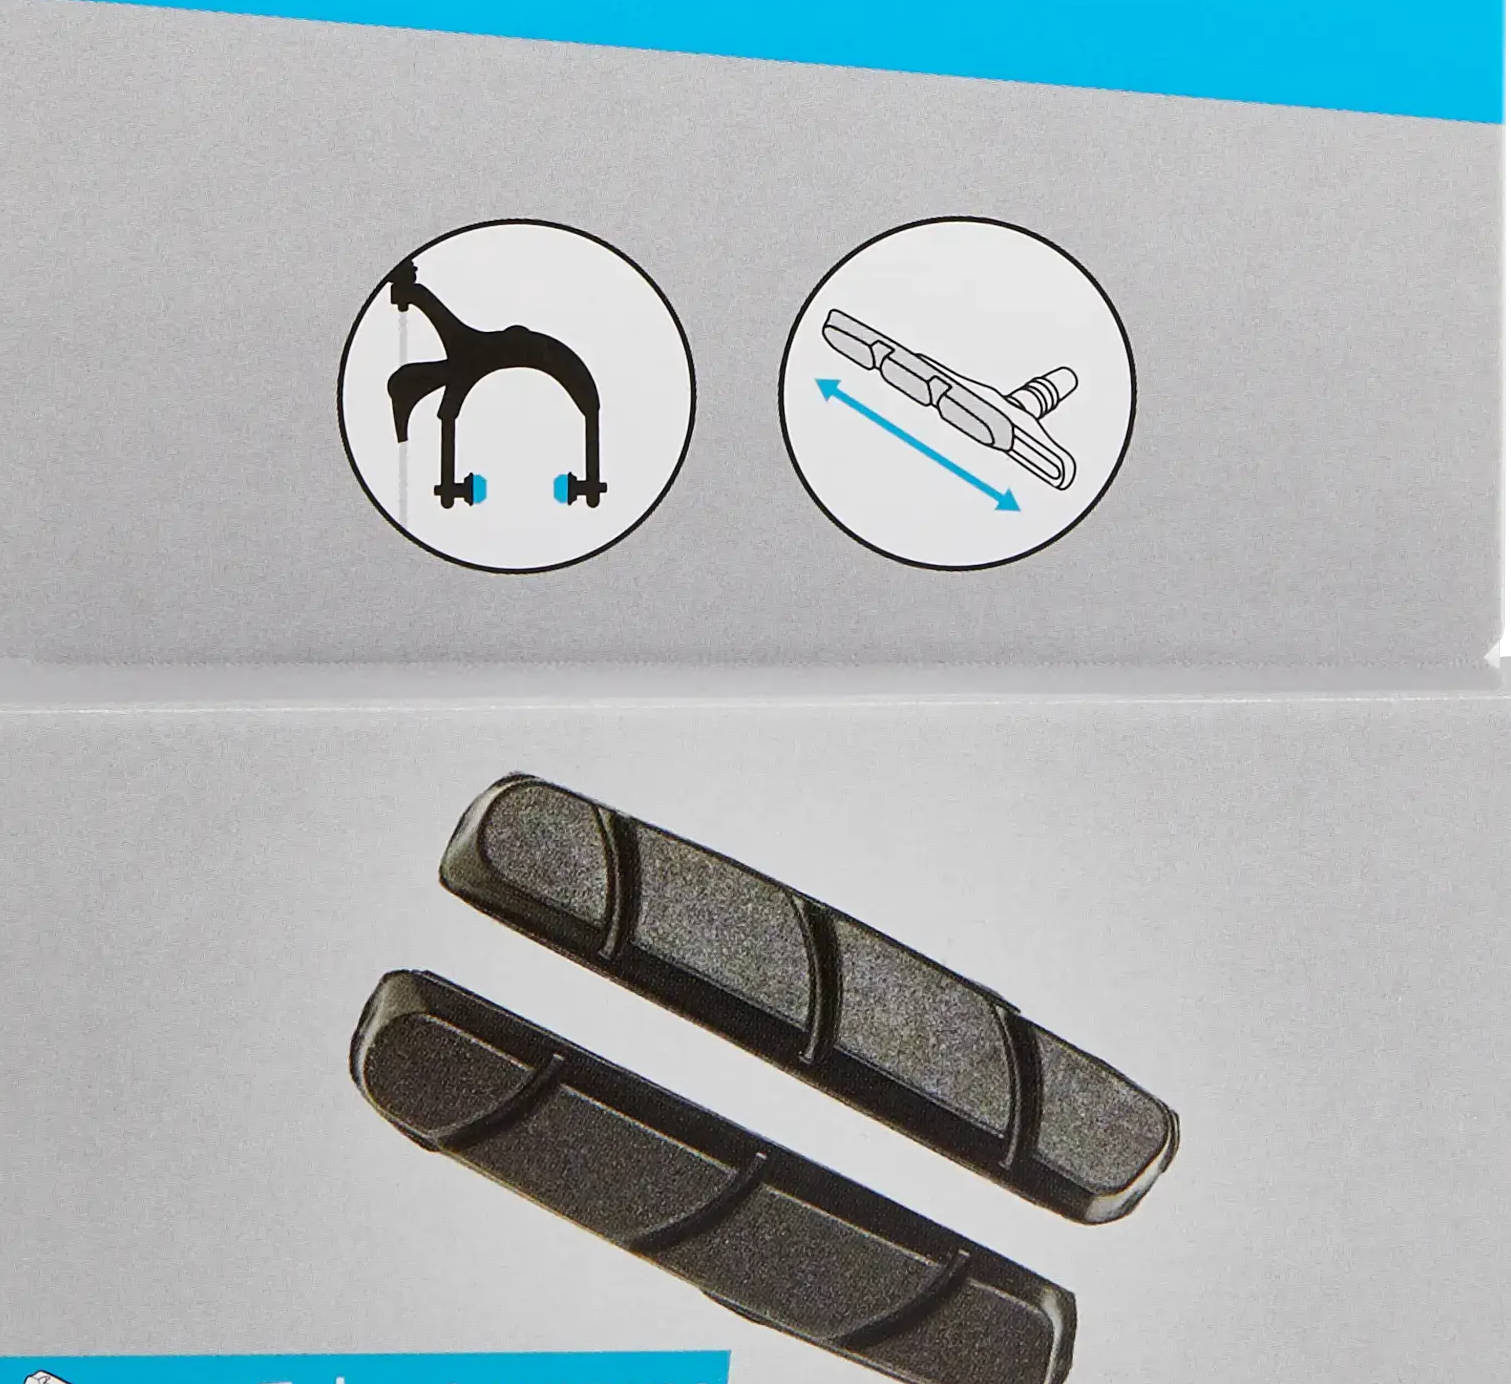
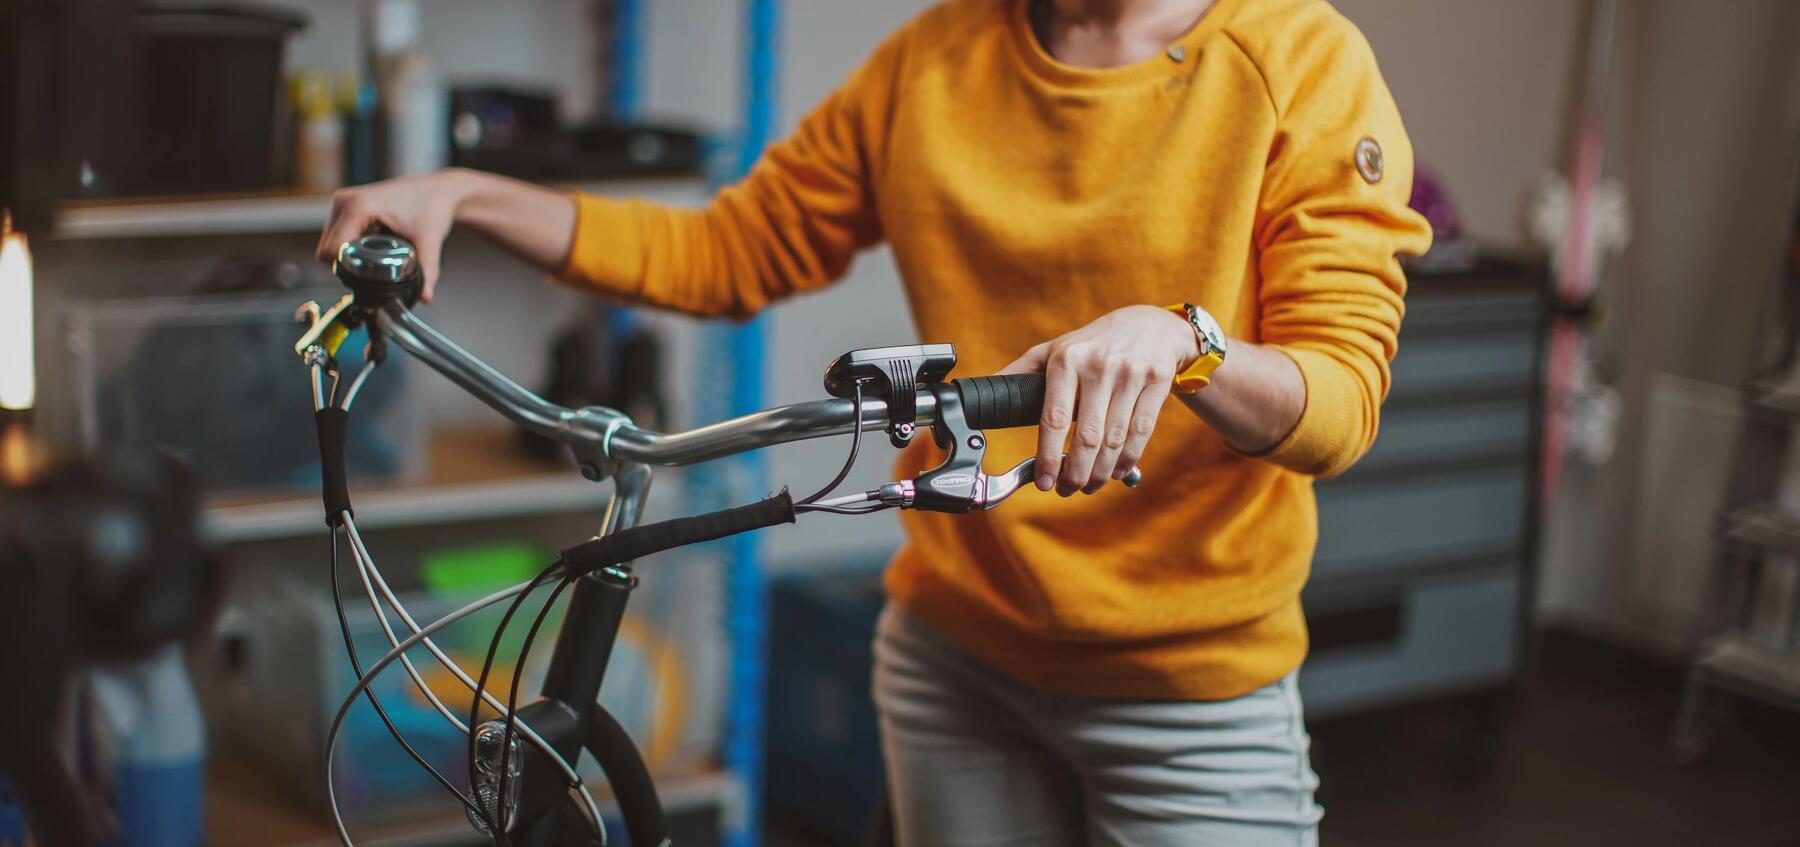
Pull the brake lever: You want your brakes to achieve maximum surface contact with the rim of your wheel, so both brake pads should squeeze evenly on the centre of the rim without touching the tyre or protruding over the lip of the rim. If one side of the brake squeezes more loosely than the other or overlaps the rim, this will tell you where the misalignment is coming from.

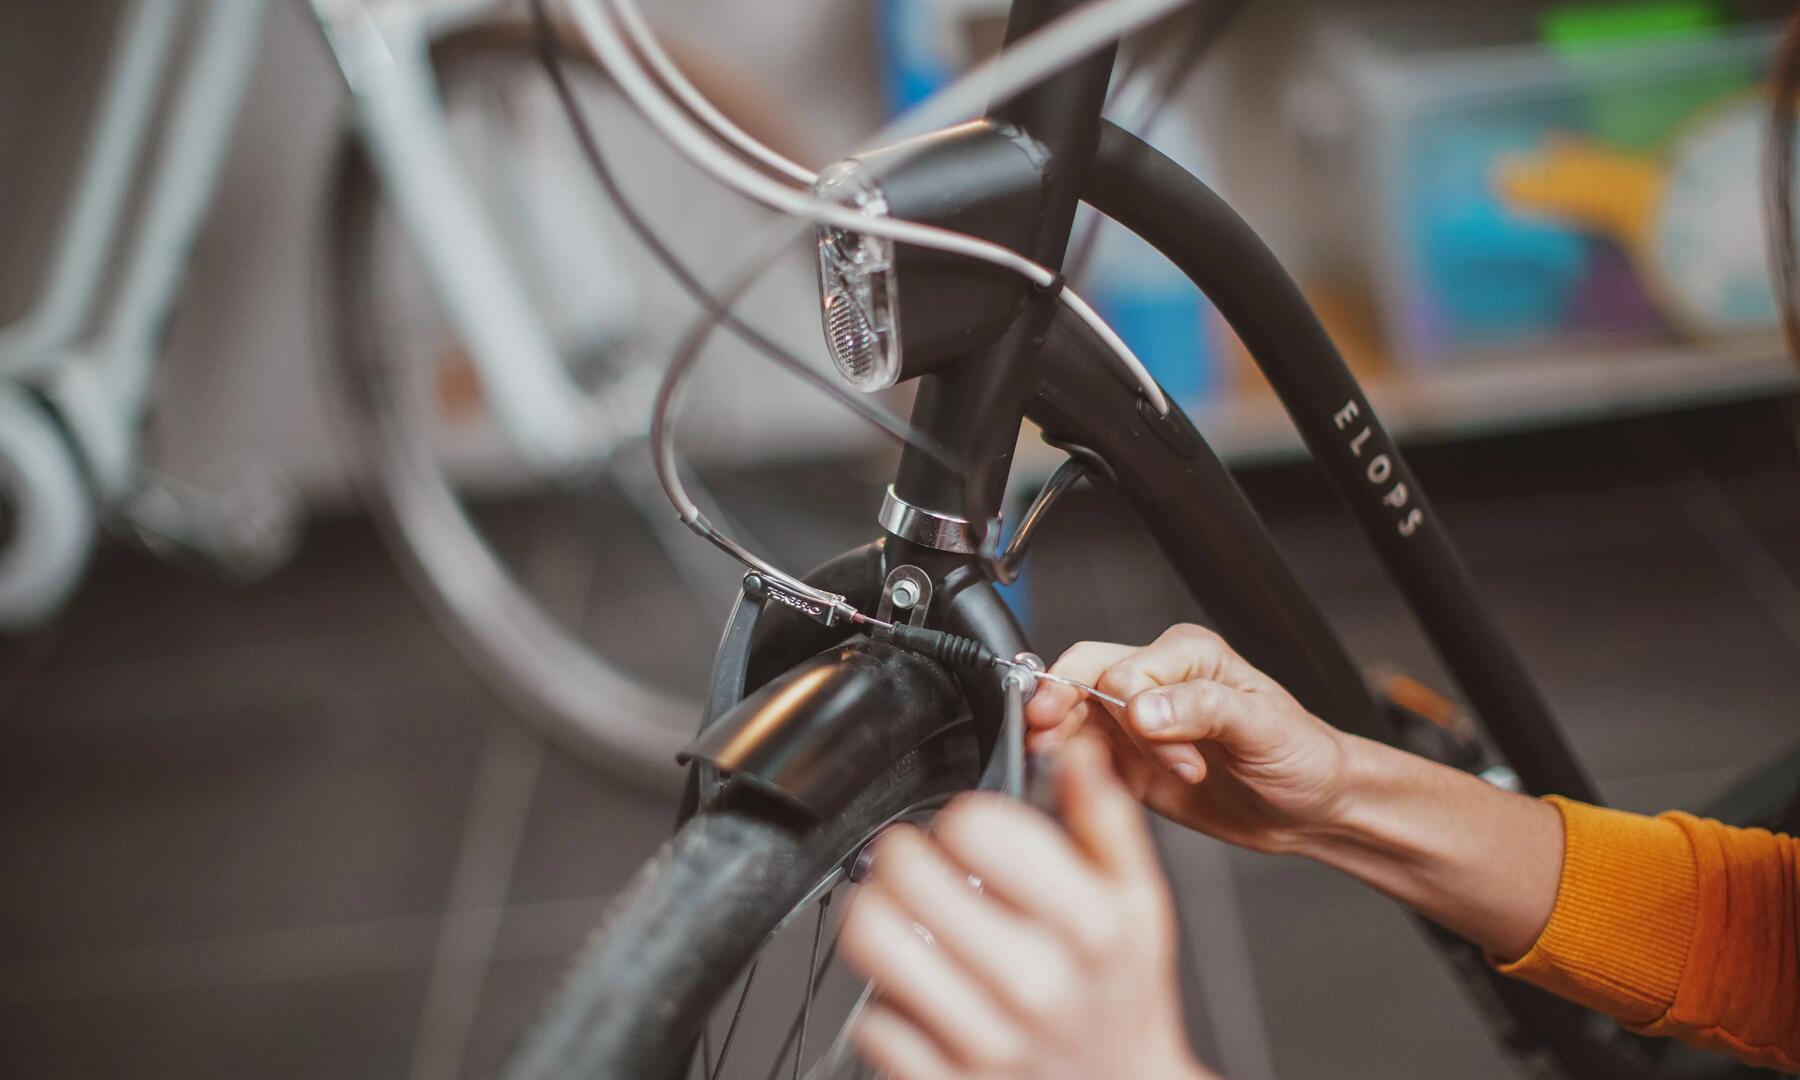
Loosen the bolts: Once you’ve determined what needs adjusting, loosen the bolts on the brake pads with an Allen key (to adjust one, you might need to adjust the other, so you should loosen both sides). But it’s important not to loosen them too far, or the pads will slip out of the holder, and you’ll have to re-assemble them.

Move your pads to the correct position: If they are too loose, push them closer. If they were too tight, move them slightly further from the rim. Remember also to align the pads with the arc of the wheel. The ideal position for your pads is a few millimetres out from the rim. The shorter the distance between the brake pads and the rim, the more responsive your brakes will be - make sure the pads aren’t actually touching the rim.
Tighten the bolts: Once everything’s in the correct position, tighten the bolts back up with the Allen key while not pulling the brakes out of alignment as you tighten them. Also, make sure you tighten each bolt the same amount so they both work together evenly.

close-up of bike disc brakes

How Do I Tighten Bike Disc Brakes

Disc brakes have two pads that squeeze against a rotor at the centre of the wheel to create friction when you pull the brake lever, slowing you down. Disc brake pads can wear down and become misaligned with the rotor. And they aren't as easy to notice as those on V-brakes, so it’s important to check them regularly. Here’s how.

Stand your bike upside down: This is where your bike stand will come in handy. Alternatively, you can rest your bike on its saddle and handlebars so you can spin the wheel freely. This is the first step in adjusting your brake rotor.

Check the rotor alignment: If you look down your wheel, you should see that the rotor sits in a gap inside the brake calliper between two pads. The calliper needs adjusting if the rotor is unevenly spaced on either side. The rotor moves with the wheel, so if it’s bent, it will wiggle from side to side as you spin the wheel. In most cases, this means you need a new rotor.

Loosen your disc brake bolts: If your rotor is closer to one brake pad than the other, you’ll need to bring the calliper back into alignment. So loosen the bolts at the top and bottom of the calliper, taking care not to loosen them the whole way.
​​
Squeeze the brake and tighten the bolts:
Now that your brake calliper is loose, spin the wheel and then tightly pull the brake lever. The calliper will grip against the rotor, bringing both pads into alignment. Then, with the brake still held, tighten the bolts back up.

When you let go of the brake lever, it should sit in the middle of the two brake pads inside the calliper. You can test this by spinning the wheel to ensure the calliper stays in place and there’s no wobbling. If it’s still a little out, make smaller adjustments by loosening one bolt at a time and repositioning the calliper until it is aligned.

Find more information on How to Replace Your Disc Brake Pads.

close-up of a lady changing bike brake pads

The Benefits Of Knowing How To Adjust Your Bike Breaks

Knowing how to adjust bike brakes will ensure your bike is performing well, and most importantly, safe to ride. And if there is any squeaking, rubbing, or if something just doesn’t feel right, don’t ignore it! This article should hopefully make you feel a little more confident in adjusting your bike brakes yourself, but if you need help, then take your bike along to our dedicated bike workshop in your local DECATHLON store.

Read Next

Man undoing a bike chain with chain break tool

A Buyer's Guide to Choosing the Right Bike Chain

Choosing a fitting quality bike chain is vital to guarantee a smooth and positive transmission. Find out what to look out for.

Rockrider XC Light Pedals

A Buyers' Guide to Bike Pedals

There are many types of bike pedals available on the market. Find out what options are out there and read about the pros and cons to help you find your fit.

A close-up of a bike tyre for bike touring

A Buyers' Guide to Road Bike Tyres

Heading out for a ride? Before you set off, make sure you've got the perfect tyres.