Bike Maintenance

Bike Maintenance: A Guide to Caring for Your Bike

Check out our guide on how to maintain your bike; what parts need regular care, what you need to do to maintain them — and what happens if you don't.

Basic bike maintenance essentials

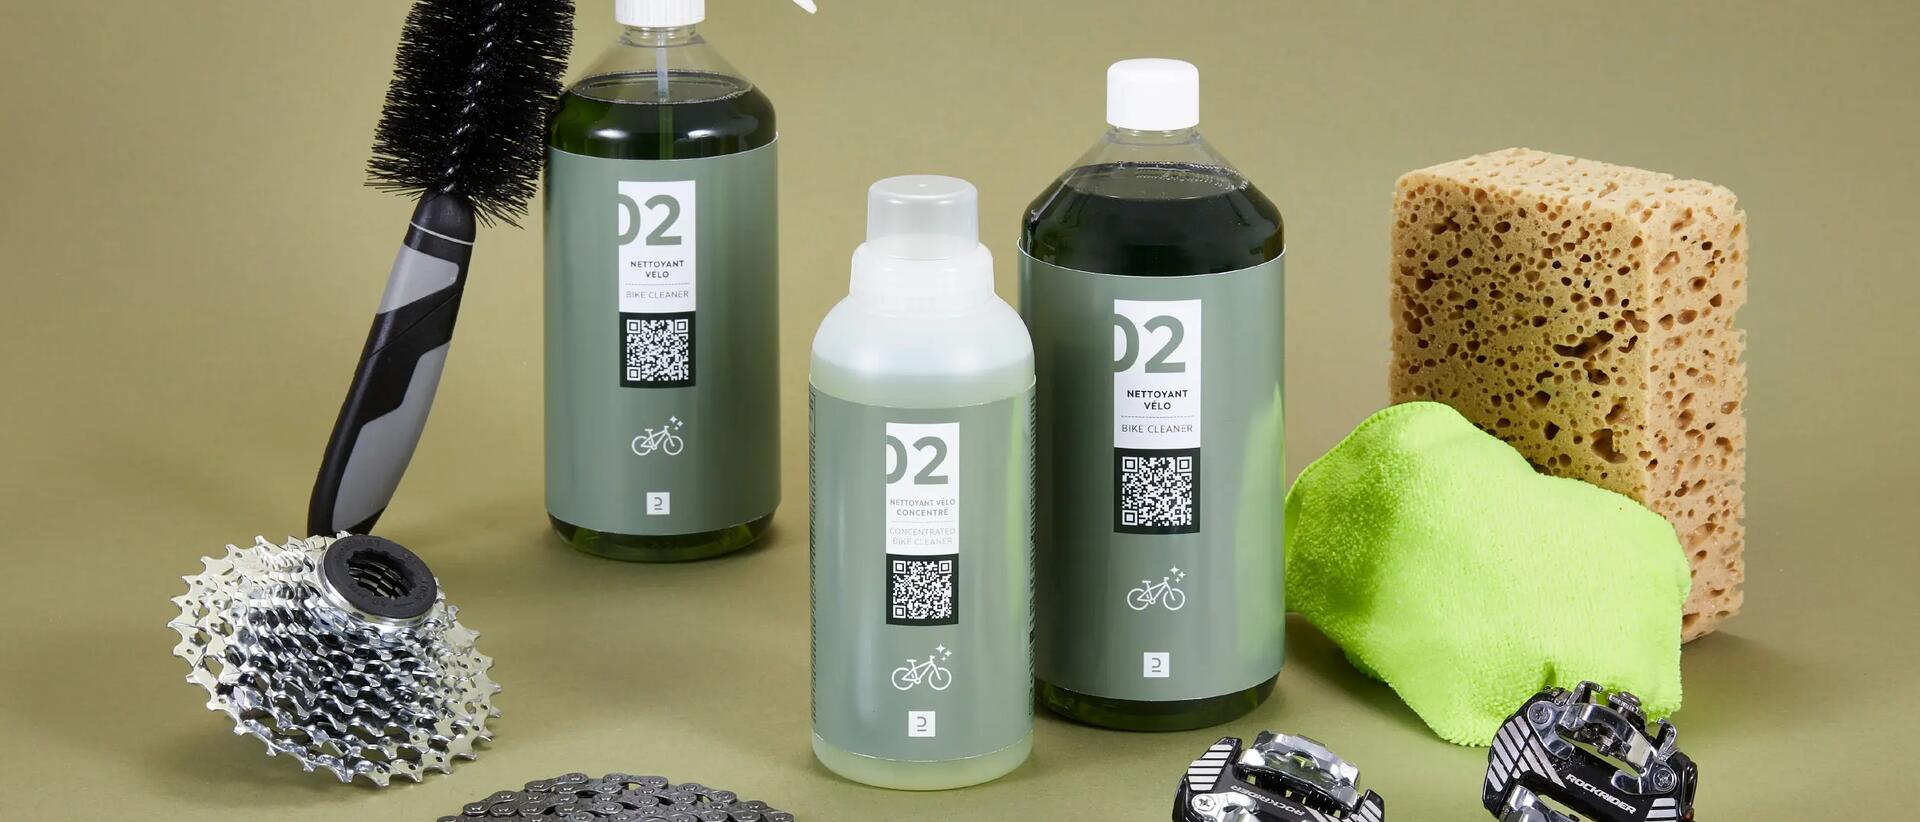
Keeping your bike clean

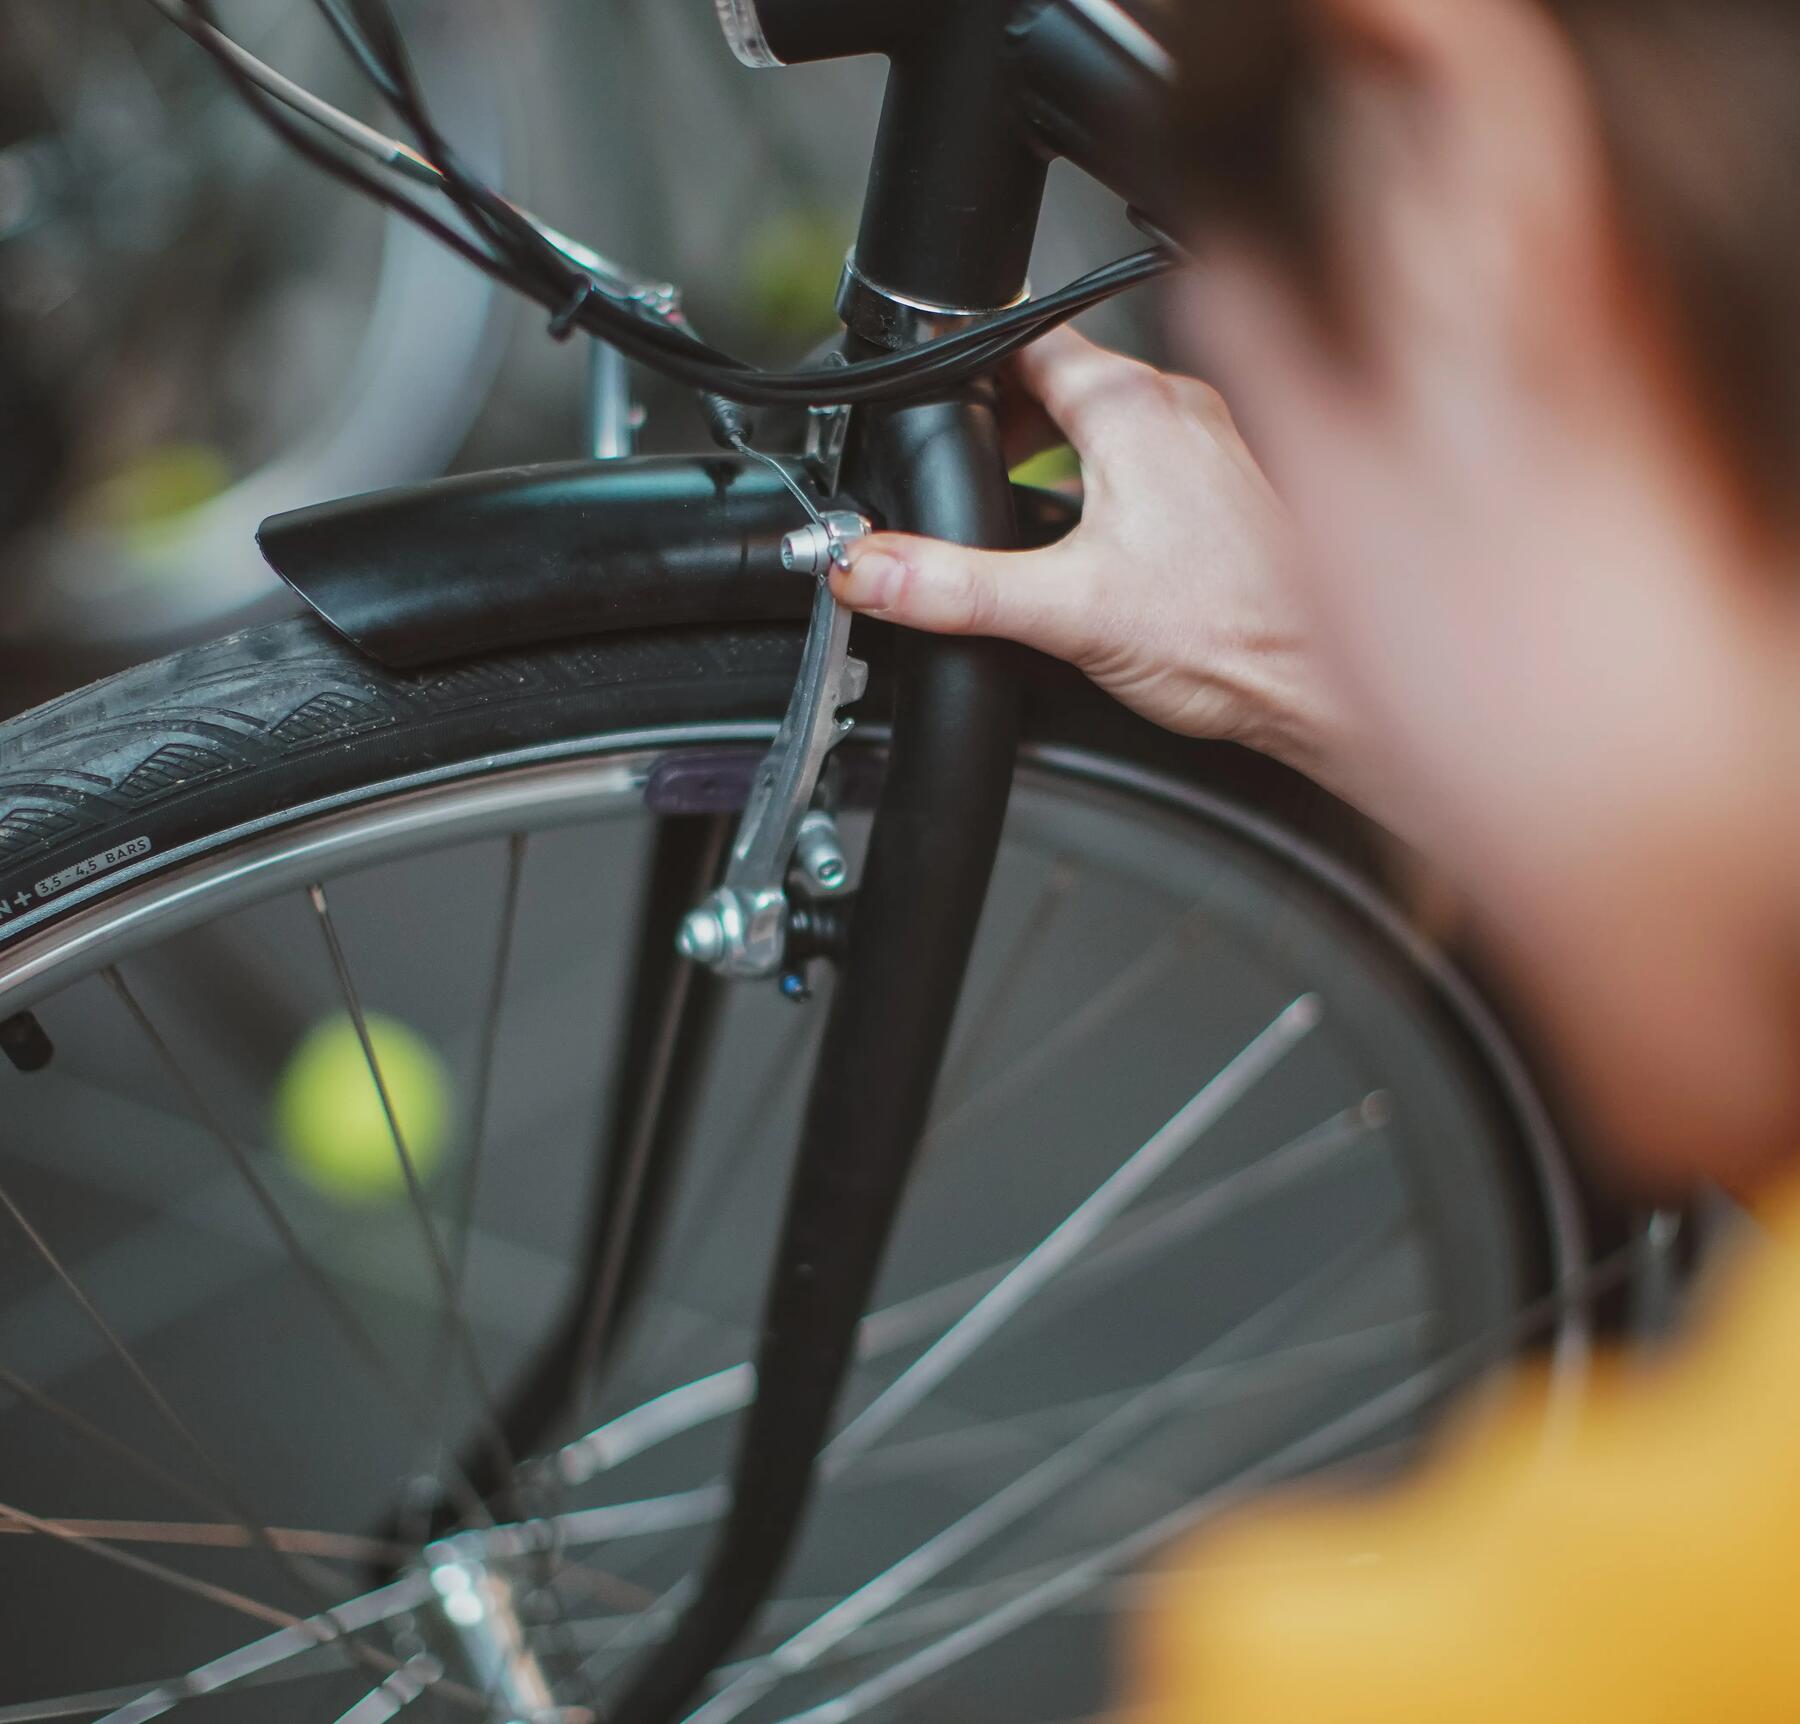
Looking after your bike doesn’t have to be difficult, and if you clean it regularly it’ll reward you with many more years in the saddle. To look after your bike properly, there are a few stages to consider.

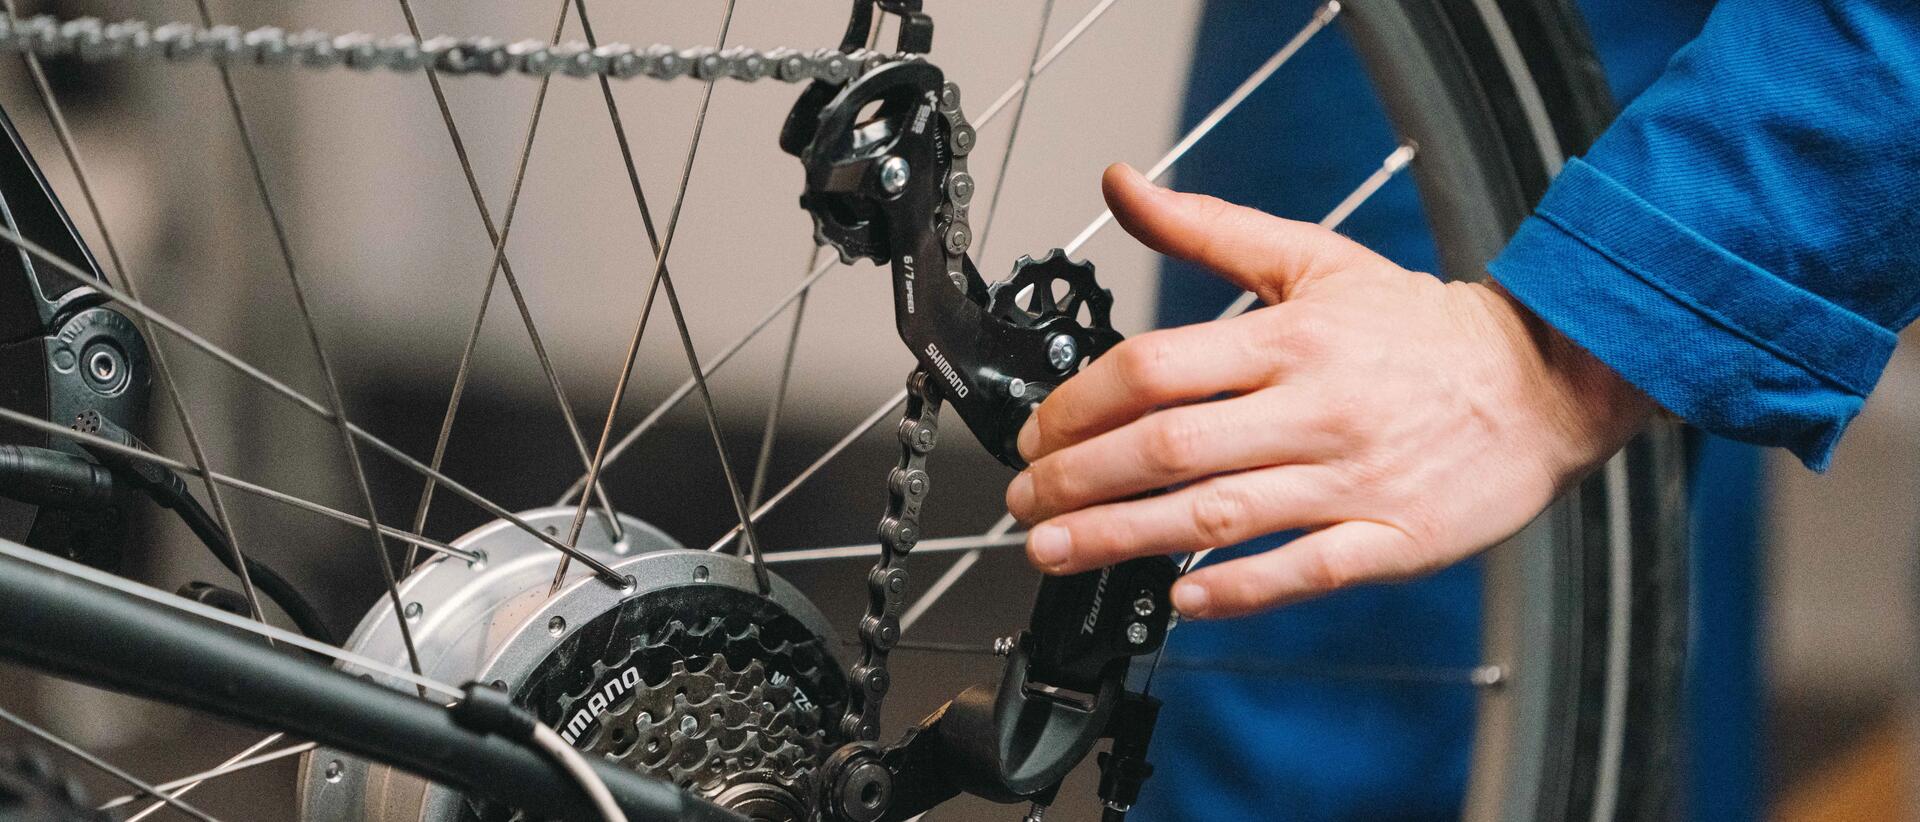
1. Degreasing. First, you will need to get the grease, mud and dirt that will have built up on your bike’s drivetrain off at least once a month. If you skip the degreasing stage, any other cleaning won’t be effective as you’ll simply be moving the grime around.
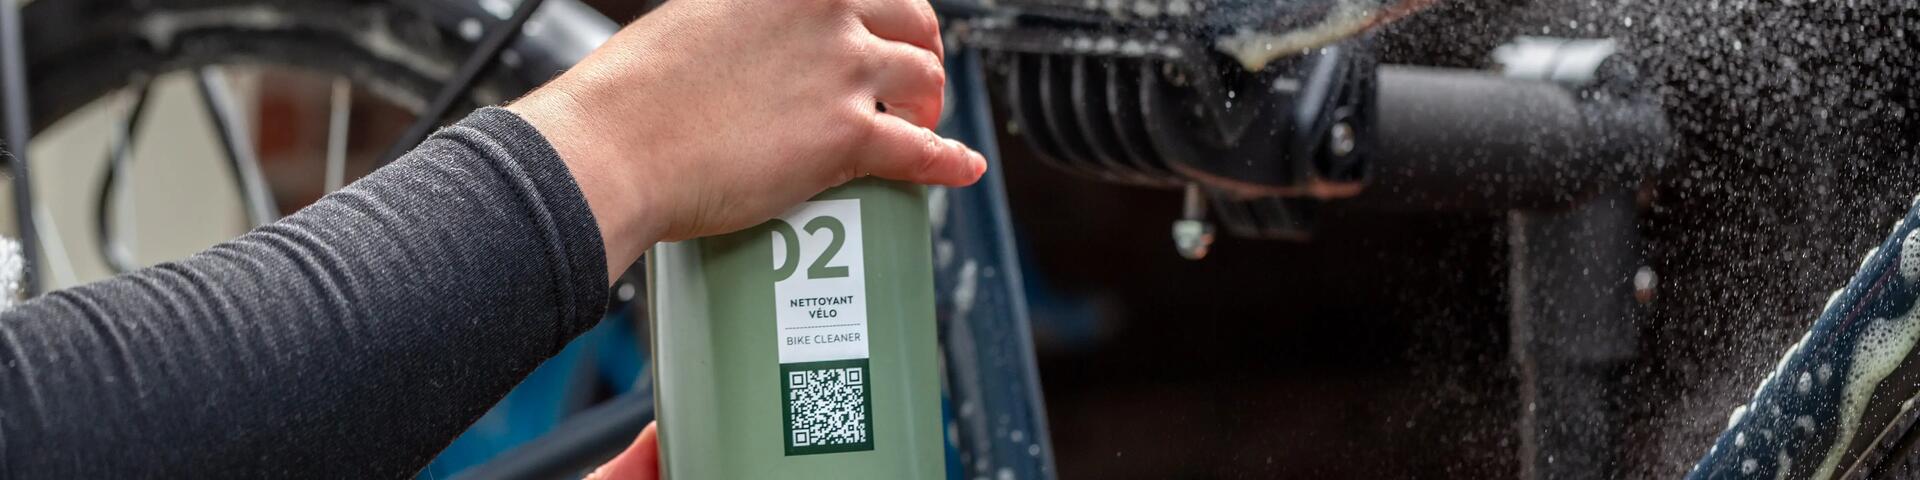
2. Cleaning. The second stage clean will seal the deal on all the hard work you did during the degreasing and makes it shine. Make sure you do this once a month too to keep your bike in tip-top condition.
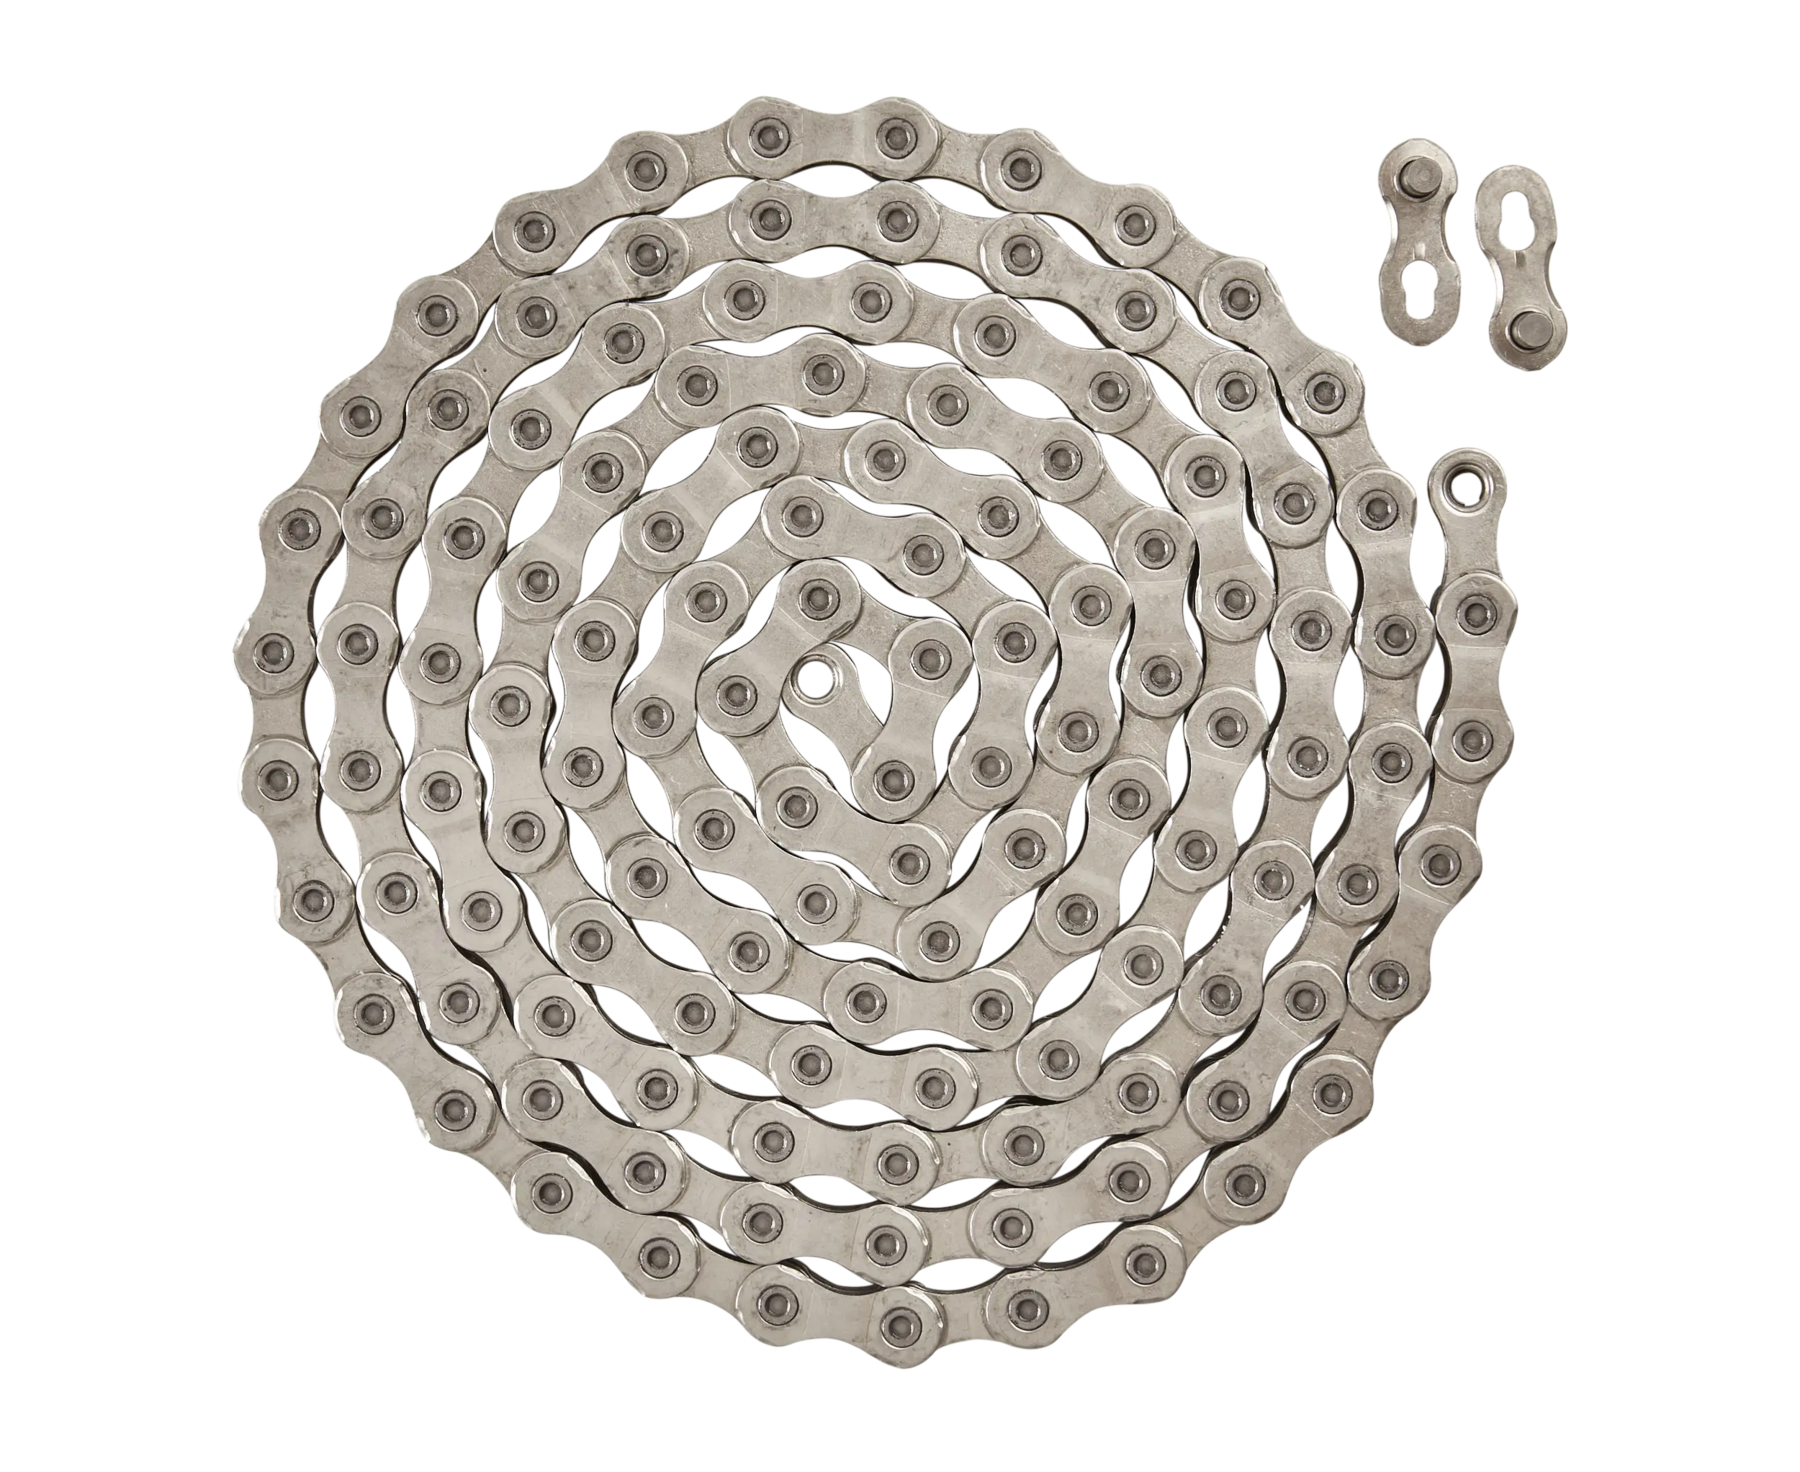
3. Lubricating. Lubricant increases the lifespan of your drivetrain by reducing friction. Do this at least every two weeks, and you’ll make sure your bike moves the way it should, all the time.

Bike cleaning products

Check your bike pressure regularly

This is a crucial part of bicycle maintenance, as a slight difference in tire pressure can drastically affect your bike’s handling and comfort, and needs to be done using a good foot pump. You’ll want to be doing this 3-4 times a week, as tires let out a surprising amount of air pressure. It’s often highly dependent on your type of tires, your body weight, the conditions you’re riding in and the road surface. As a general rule, the wider the tires the lower the air pressure, although it’s wise to stick to the prescribed air pressure given by the makers’ suggestion. The common PSI (pound per square inch) amongst cyclists is 80-120, so if your bike is at that level, you should be good to go.

To check bike tyre pressure

Check your nuts and bolts

They hold the whole bike together, so it makes sense to check their tightness regularly. The alternative is your bike falling to pieces mid-cycle, which wouldn’t be good for even the most skilled riders. Not only that, but having a bike with loose parts can both affect your cycling performance and cause serious damage to the whole setup. The most efficient way of staying on top of your bike's tightness is to give it a weekly check. This can be done by simply bouncing it off the ground and keeping an ear out for any loose nuts and bolts.

It’s never a case of one size fits all, so when giving each specific part a tight fit, it’s wise to follow the manufacturer’s instructions, especially when it comes to torque specs. If certain parts haven’t been tightened enough, you may hear squeaking, whereas over-tightening can result in injury.

Watch the brakes

Possibly the most important aspect of cycle maintenance, as leaving your brakes unchecked could have dangerous consequences, especially if you’re doing a lot of downhill cycling.

When checking your brakes, you should do the following; test them out by pulling and holding your brakes down to make sure they’re working appropriately.

1. Examine the brake pad. As a general rule, brake pads should have wear indicators. Regularly check it and make sure it has not gone below the acceptable line. It’s also important to make sure they’re touching the front section of the braking surface and the full section when pulled.

2. Clean your disk brakes. To avoid contamination and damage to your braking, be mindful about keeping your rotators clean. Make sure to buy specific disc cleaners, and never use WD40.

Re-index your gears

Once you’ve been riding your bike for a short while, you’ll start to realise that your gears don’t operate as smoothly as they once did. But do not fear, there may be no need to start searching for bicycle maintenance courses on Google. As long as your cables and derailleurs aren’t damaged, it is possible to index your gears yourself.

Here’s how:

1. Find the barrel adjuster. It will be on the rear derailleur, where the cable ingress is located or for the front derailleur, it’s usually by the shifters.

2. Check if the cable needs tightening or loosening. After mounting your bike on a repair stand and pedalling the wheels, change between the gears as you go. If the chain doesn’t move easily onto the next cog, you need to tighten the cable. If it moves too freely, you need a looser one.

3. Switch up the cable tension. Once you know the issue, you can use the barrel adjuster to re-index the gears. For a tighter cable, turn the barrel adjuster anti-clockwise, and to loosen, turn it clockwise. The barrel adjust will click with every quarter turn.

If you have an electronic bike, you won’t have to change your gears at all.

Bike gear

Bike parts that suffer from wear and tear

If any of these bike parts are damaged, you will need to change them as soon as possible.

Bike chain

The chain

Often the bike part that needs changing most regularly. Although giving it a weekly clean will give it extend its life, if you spot significant wear or stretch in your chain, it’s time for a replacement. There are tools such as a chain checker to examine the links between each chain and will help confirm whether or not it’s time for a replacement.

Bike brake pads

Brake pads

These don’t often require replacing but it’s a good idea to give them a regular check-up. Change your pads a little before maximum wear.

Bike tyres

Tyres

This all comes down to the type you use. Lower quality tyres can wear out quicker than the chain and the cassette. In most cases, bike tyres should last up to 4000 miles, and less for racing tyres. As always, give them a look over after a long cycle.

Bike cassette

The Cassette

For every two chains, you should replace your cassette. If you take good care and maintain your drivetrain, your cassette can last up to three chains. If the gears start skipping, even after you’ve changed your chain, it means a cog has been worn out and the entire cassette needs to be replaced.

Top tips for road bike maintenance

Although there is some crossover between basic bike and road bike maintenance, the latter has its own set of best practices.

Bike pedals

Don’t neglect your pedals

Pedals are often the last bike part cyclists look at. Keep an eye out for loose bearings and especially worn out cleats, as although pedals can be kept spinning smoothly through tightening or servicing, worn-out cleats can’t be replaced and could lead to injury.

Bike freehub

Listen to your freehubs

If your freehubs are getting louder, it’s likely that they’re dirty and have dried out, and require a clean. If you follow the instructions and tools that are specific to the brand of bike or freehubs — this shouldn’t take too long. Brands will often recommend what type of bike lube you should use, but if in doubt, go with a thin grease or thick oil, as standard grease often causes drag and sticking.

Bike Derailleur Hanger

Check up on your Derailleur Hanger

Due to the design of modern road bikes, it's pretty easy for a soft alloy derailleur hanger to get bent out of shape. If your bike does happen to fall on the derailleur side of the bike, it’s worth giving it a check, regardless of whether or not you were sitting on the bike. Failure to do this could lead to spokes getting caught in the chain scenario, which no one wants!

Bike bottle cage

Be mindful of loose & rolling parts

Loose and rolling parts often sound like your road bike is falling apart, but in reality, it’s easy to find the cause of loose and rolling parts. First off, check your saddlebag for loose parts. A loose bottle cage is usually the main perpetrator! Other causes include the previously mentioned loose cassettes, as well as hubs and headset.

Mountain bike maintenance that’s a must

Although keeping any bike maintained is important, the heavy impact nature of mountain bike riding makes regular checkups imperative.

If you’re looking for a bike that requires minimal maintenance for some incredible performance, our Mountain Bike Rockrider St 100 does the job. Designed to last you through the driest of weather conditions, the mountain bike rock rider can keep you going for 90 minutes with its lightweight, aluminium frame makeup and long-lasting, double-walled rims.

Man riding a mountain bike

The basics x10

Whether it’s keeping your mountain bike healthy with regular lubrication, checking the drivetrain or giving the tyre pressure a thorough examination, it’s worth following every single piece of previous advice religiously when looking after your mountain bike.

Create your own mountain bike maintenance area

It doesn't matter whether it’s done in a space with removable apparatus or a shrine dedicated to mountain bike servicing, having a place to work on your mountain bike will put you in a better position to make the proper checks. What you will need is a storage space for your tools and a bike stand, as well as a sink to clean off the grease once you’re done.

Care for your fork

When it comes to fork issues, it’s about spotting a minor problem before it turns into an expensive one. After every ride, test your fork’s movements by pressing down on it. If you can feel it either sticking or not rebounding as easily as it should, there may be a build-up of grime and dirt. To keep the fork moving smoothly and without friction, use a special oil-based lubricant that’s different from chain lube.

Dictate your damping

Your bike has clickers on the suspension for compression and rebounds damping. These provide the ultimate performance tweak. They control how fast the shock returns once engaged. The type of riding you do will dictate the setting. For rough, bumpier trails it’s best set for a slow response and a more in-control feel. However, for flatter, smoother riding, a harder response is needed. Experiment based on the nature of the trails you tackle.


For more on cleaning your mountain bike, read our definitive guide for a thorough mountain bike cleaning.

Read Next

Women wearing a rockrider mountain bike helmet

Your Buyer's Guide to Helmets

Find out how to choose the right cycling helmet and pick your fit through various styles, sizes and features for the right fit as a safety essential.

Van Rysel road bike on a downhill

How to Choose a Road Bike

Feel like you aren’t riding right? We give you the lowdown on what system works best for your cycling style.

Close up picture of a foot on a bike pedal

How to Choose Your Road Cycling Pedals

Our simple guide will help you choose road cycling pedals that will not only improve your power transfer but also improve your overall performance.